
We’ve all been there. You land on a Shopify store, intrigued by a product, but the photos are… just okay. A little dark, a bit blurry, and they don’t really tell you a story. So you close the tab and move on. What separates a store that gets a click from one that gets a sale? More often than not, it’s stunning pro product photography.
Your images aren’t just placeholders; they’re your most dedicated salesperson, working 24/7 to turn casual browsers into loyal customers. In 2025, they’re the digital handshake that builds trust before a customer ever clicks “add to cart.”
Why Great Photos Aren’t Just an Expense—They’re an Investment
Let me tell you a story every founder can relate to. A small, direct-to-consumer skincare brand was stuck. They knew their formulas were incredible, but their Shopify analytics told a different story: flat conversion rates. Their photos were clean, sure, but they lacked the feeling needed to convey the luxury inside the bottle.
Frustrated but not defeated, they had a breakthrough. They stopped seeing photography as an expense and started treating it as a core growth strategy. They didn’t hire a big agency. Instead, they got obsessed with light and storytelling. They swapped sterile, flat images for shots that showed off the product’s rich texture, used soft, natural light to create a sense of calm, and added subtle props that hinted at a self-care ritual.
The result? Within three months of relaunching their product pages with the new visuals, their conversion rate more than doubled.
The Psychology Behind a Picture That Sells
That brand’s success wasn’t a fluke. It’s a perfect example of how visual commerce works in 2025. When a customer can’t touch, feel, or smell your product, your photos have to do all the heavy lifting. In a split second, they communicate your brand’s quality, trustworthiness, and the value you’re offering. In a world where attention is the new currency, a powerful image is what stops the scroll.
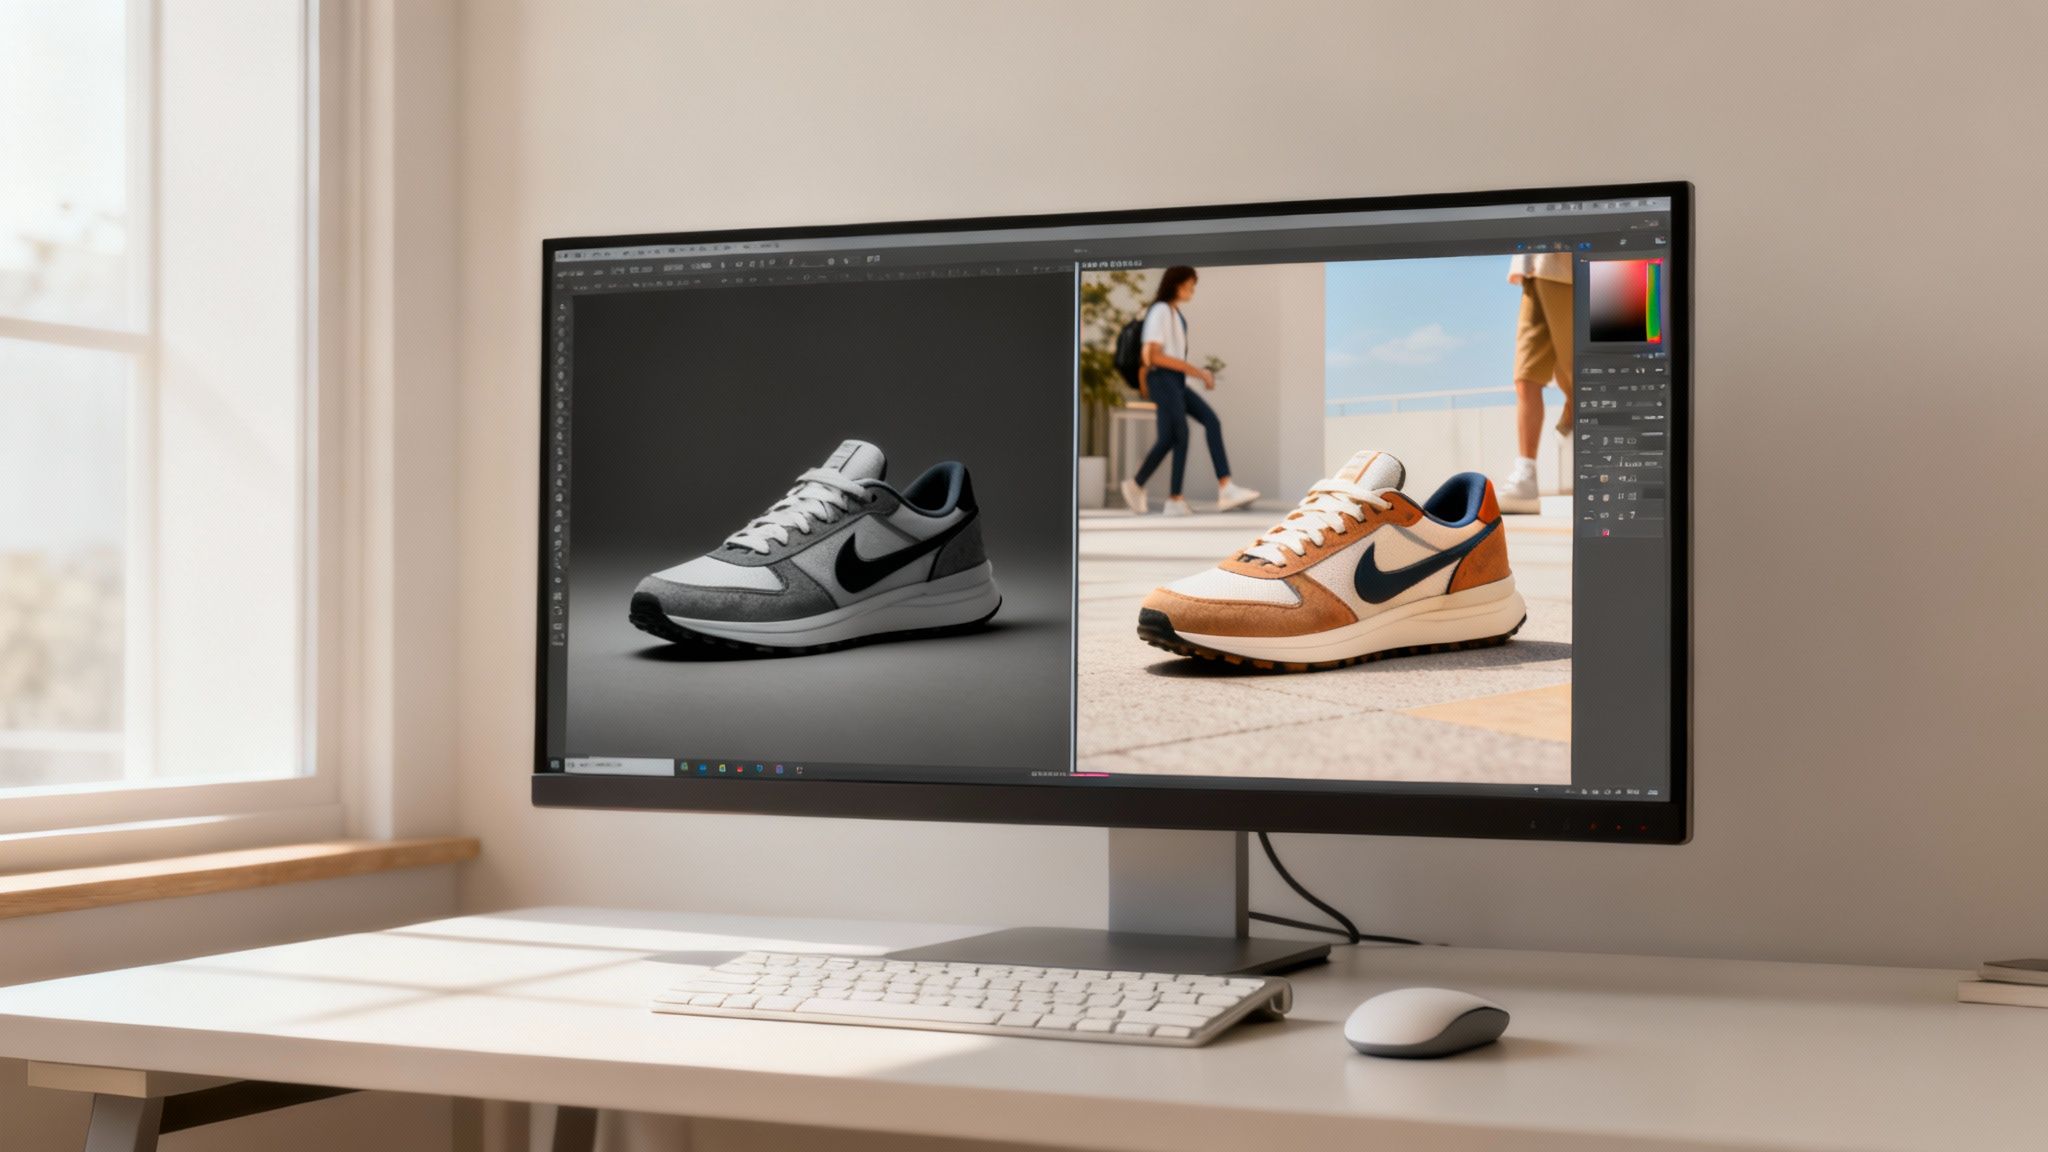
Look at how a simple, beautifully lit setup can instantly make a product feel premium.
See how the soft light pulls your focus right to the product? It highlights its shape and texture without any distracting noise. This is the kind of shot that builds immediate trust.
“In eCommerce, your product photography is your digital handshake. It’s the first impression that determines whether a customer stays to listen or clicks away.”
This isn’t a fleeting trend. The global product photography market is projected to hit a staggering $275 million by 2028. This growth signals a core truth about modern retail: what customers see directly impacts what they buy. You can explore the photography market trends if you’re curious.
At the end of the day, professional-level images aren’t about chasing perfection. They’re about forging a connection. They bridge the gap between the screen and the real world, giving your customer the confidence they need to click “Add to Cart.”
How to Build a DIY Photo Studio on Any Budget
Let’s get one thing straight: you don’t need a massive studio or a Hollywood budget to create images that stop the scroll. Some of the most successful Shopify stores started in a spare bedroom with a smartphone and a ton of hustle.
The secret to clean, compelling product shots isn’t how much you spend—it’s how resourceful you are. Let’s walk through how you can build an effective photo setup at home, no matter where your business is today.
Your Pro Product Photography Gear Guide
To make this practical, I’ve broken down the gear into three stages. Think of it as your shopping list, whether you’re just starting out or ready to scale up your visual game.
| Gear Category | The Scrappy Founder (Under $100) | The Growing Brand ($500-$1000) | The Pro Setup ($2500+) |
|---|---|---|---|
| Camera | Your smartphone (the latest models are amazing) | Entry-level DSLR/mirrorless with a 50mm f/1.8 lens | Full-frame mirrorless or DSLR |
| Lighting | A large window with indirect natural light | 2-light softbox kit for consistent, controlled light | Multiple strobes or continuous LEDs with modifiers |
| Backdrop | White poster board or craft paper | Seamless paper roll system (white, gray, black) | A variety of paper rolls or photography background cloth |
| Support | A steady hand or a stack of books | A sturdy, reliable tripod | Tripod + tethering station for live view on a computer |
| Essential Extra | White foam board for bouncing light | Remote shutter release | Light meter and color checker passport |
This isn’t about pressure to upgrade; it’s about having a clear path forward so you can invest wisely as your business grows.
The Scrappy Founder Setup (Under $100)
This is where grit and creativity meet. If you’re just launching, your smartphone is your secret weapon. The cameras in modern phones are shockingly good, and when paired with beautiful light, the results can easily compete with more expensive gear.
Your mission here is to master natural light.
Find the biggest window in your space that doesn’t get direct, harsh sun. That soft, diffused light is gold for product photos.
- Your Camera: The one in your pocket. Just promise me you’ll wipe the lens before every shoot!
- Your Light Source: That big, beautiful window. North or east-facing windows are usually best.
- Your Backdrop: Grab a white poster board from a craft store. Prop it against a wall and curve it down onto your table to create a seamless background.
- Your Secret Weapon: A second piece of white foam board. This is your reflector. Place it opposite the window to bounce light back and fill in any dark shadows.
The key here is consistency. Always shoot around the same time of day. This keeps your lighting uniform across your product line, which is the hallmark of a professional-looking store.
This simple flowchart nails the connection between investing in visuals and seeing a real impact on your sales. It reframes great photography from an expense into a direct lever for growth.
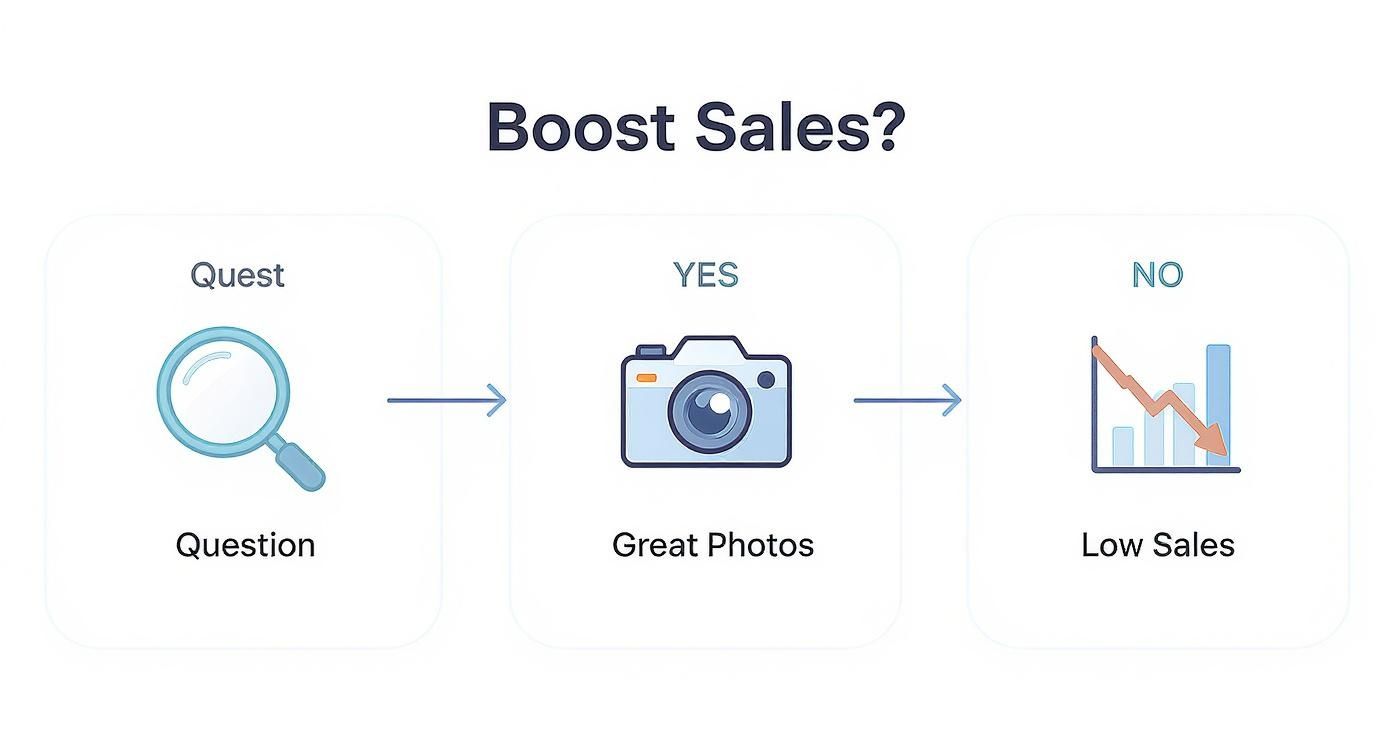
This visual hammers home a simple truth: when customers feel confident in what they see, they are far more likely to click “add to cart.”
The Growing Brand Toolkit ($500-$1000)
Alright, your business is picking up steam. Orders are flowing, and it’s time to invest in more control. This is where you move beyond chasing the sun and start building a setup that gives you repeatable, pro-level results, day or night.
Here, you graduate to a dedicated camera and your first real lights.
Your goal isn’t just taking pictures anymore; it’s about crafting a consistent visual identity. Upgrading your gear gives you the control to make that happen.
Here’s what your new toolkit looks like:
- Camera Upgrade: An entry-level DSLR or mirrorless camera is a fantastic next step. Think of a Canon Rebel or a Sony Alpha series camera paired with a “nifty fifty” 50mm f/1.8 lens. This combo is a workhorse for sharp images and that beautiful, blurry background.
- Lighting Control: A basic two-light softbox kit is a game-changer. These create soft, even light that perfectly mimics a bright, overcast day, freeing you from the whims of the weather.
- Sturdy Support: Get a reliable tripod. This is non-negotiable for keeping every shot perfectly sharp and consistently framed.
With this gear, you can batch-shoot products with identical lighting and angles, dramatically speeding up your workflow and elevating the look of your entire store.
The Pro Setup ($2500+)
You’re scaling, and fast. Your product line is growing, and you need a workflow that’s efficient, versatile, and delivers flawless quality every time. This setup is about investing in tools that give you maximum control and creative freedom.
- Pro-Level Camera: It’s time for a full-frame mirrorless or DSLR, known for incredible image quality and color science.
- Advanced Lighting: You’ll want multiple strobes or powerful continuous LED lights. The real magic is in the modifiers—things like octaboxes and grids that let you sculpt light with precision.
- Versatile Backdrops: You’ve moved beyond poster board. A system with seamless paper rolls in various colors or a high-quality photography background cloth opens up endless creative doors. For tips, check out our guide on choosing the perfect photography background cloth.
- Tethered Shooting: This is a workflow game-changer. Connect your camera to a computer so images pop up on a large screen in real-time. It’s perfect for nailing focus and composition on the spot, saving you a ton of time later.
No matter which stage you’re in, the principles never change: control your light, lock in your consistency, and always make your product the hero.
Mastering the Art of Light and Composition
Okay, you’ve got your DIY studio. Now the real fun begins. We’re moving beyond taking pictures and into crafting images—the kind that tell a story, spark emotion, and convince a customer they need what you’re selling.
This is where the magic happens, and it all comes down to two things: light and composition. Get these right, and even a smartphone can produce images that look like they belong in a high-end catalog.
Understanding the Language of Light
Think of light as the personality of your photo. It sets the entire mood. The biggest mistake founders make is assuming all light is created equal. It’s not. There are two main flavors you need to understand.
Hard Light: Picture the sun at high noon. It creates sharp, defined shadows. This light is bold and dramatic but can be unforgiving, highlighting every imperfection.
Soft Light: Now, imagine a slightly overcast day. The clouds act like a giant diffuser. This creates gentle, soft shadows. This light is flattering, forgiving, and makes products look clean and premium. For 90% of eCommerce, soft light is your best friend.
The quality of your light matters far more than the quality of your camera. A well-lit smartphone photo will always beat a poorly-lit shot from a professional camera. Mastering light is the ultimate shortcut.
How do you create soft light on demand? If you’re using a window, hang a thin white sheet over it. Instant diffuser. If you’re using an artificial light, place a softbox or a white sheet between the light and your product. This simple act of diffusion is often what separates amateur shots from pro ones.
Composing Your Shot Like a Pro
Composition is just a fancy word for how you arrange things in your photo. It’s the invisible hand that guides your customer’s eye exactly where you want it to go. Instead of plopping your product dead-center every time, let’s play with some timeless principles that just work.
The Rule of Thirds
Imagine your screen is divided by a tic-tac-toe grid. The “rule” is simple: place your product not in the center, but along one of the lines or where two lines intersect. This instantly creates a more dynamic and visually interesting image.
Leading Lines
Our eyes are hardwired to follow lines. Use this to your advantage by arranging things in your scene to create pathways that lead straight to your product. It could be the edge of a table or a subtle shadow. Brands like Brooklinen use the crisp folds of their sheets to guide the eye across the bed, creating a feeling of luxury.
Negative Space
Sometimes, what you don’t put in the frame is just as important. Negative space is the empty area around your product. Don’t be afraid to use it! A clean, uncluttered background makes your product the hero. It creates a feeling of sophistication, telling the customer, “This is what matters.”
While we’re on the subject of the perfect shot, the right camera can make applying these principles easier. We put together a breakdown of good cameras for product photography to help you find what fits your brand as you grow.
By combining soft light with thoughtful composition, you’re no longer just showing a product; you’re presenting it. You’re telling a visual story that builds desire and makes the decision to buy feel both easy and exciting.
Your Modern Workflow for Editing and AI Enhancement
The creative work doesn’t stop when you put the camera down. In many ways, that’s where the real magic starts. Post-production is where you sharpen your brand’s visual voice and make every image feel polished and intentional.
Today, this process is a blend of timeless editing skills and powerful AI tools. We’re moving beyond just tweaking brightness. We’re building workflows that are efficient and creatively liberating, letting you produce world-class visuals at a scale that was once unthinkable.
And the industry is taking notice. The global photographic services market, valued at $37.96 billion in 2023, is expected to skyrocket to nearly $64.68 billion by 2032. This is because businesses are finally investing in smarter visual strategies to win online.
The Foundation: Timeless Editing Essentials
Before we dive into AI, let’s get grounded in the fundamentals. These are the non-negotiable skills that form the bedrock of all great pro product photography.
Think of these as the three pillars of your editing checklist:
- Honest Color Correction: Your main goal is accuracy. Is that blue shirt really that shade of blue? Use the white balance tool to neutralize any weird color casts. This builds customer trust.
- Essential Retouching: The point isn’t to make your product look fake; it’s to eliminate distractions. Zap away tiny dust specks or clean up minor scratches on the backdrop. It’s the digital equivalent of wiping down a storefront window.
- Consistent Cropping and Sizing: Every product photo on your site should share a consistent aspect ratio. This creates a clean, organized grid on your collection pages. Decide on a standard—like a perfect square (1:1)—and stick to it.
The AI Advantage: Working Smarter, Not Harder
Now, this is where your workflow gets a massive upgrade. AI isn’t here to replace your creative eye. It’s here to be your most powerful assistant, automating the tedious tasks so you can focus on the big picture.
Imagine you have one perfectly lit shot of your product on a white background. In the past, creating lifestyle images meant a whole new, expensive photoshoot. Not anymore.
With a tool like Icona Studio, you can take that one image and instantly generate dozens of AI scenes. Want to see your new candle on a sleek marble countertop? Done. How about on a rustic wooden table? Just a click away. This lets you A/B test which backdrops and scenes truly connect with your audience and drive sales.
This is the new reality of eCommerce visuals. You’re no longer limited by your photoshoot budget. The only real limit is your imagination.
As you build this modern workflow, don’t forget site performance. It’s crucial to learn techniques and tools to compress images without losing quality. And for those times when you need to make an AI-generated image bigger, a good upscaler is a must. You can find tips on how to use an online image upscaler right here to keep everything looking crisp.
How AI Found the Perfect Scene: A Quick Example
Let’s look at a real-world scenario. A Shopify store selling handmade ceramic mugs was struggling to make their products stand out. Their white background shots were fine, but they lacked emotion. Using Icona Studio, they created three distinct variations for their best-selling mug:
- A minimalist, bright kitchen scene.
- A cozy, “dark academia” scene on a wooden desk.
- A vibrant, colorful café setting.
Running a simple A/B test with social media ads, they discovered the cozy, dark academia scene outperformed the others by over 45%. The test revealed their audience wasn’t just buying a mug; they were buying the feeling of a quiet morning that the image captured perfectly.
This is the power of a modern editing workflow. By blending solid editing fundamentals with the speed of AI, you can test, learn, and optimize your visuals in ways that were pure fantasy just a few years ago.
Creating Interactive Visuals That Truly Sell
Let’s be honest, static images are table stakes now. The real magic in 2025 is making your store immersive, interactive, and frankly, a lot more engaging. It’s time to think beyond the standard photo grid and see how leading brands are crafting experiences that customers actually remember.
Great photos build trust. But interactive visuals? They build a real connection. They brilliantly close that gap between browsing online and truly feeling a product in your hands.
Stepping Beyond the Static Grid
The modern product page is no longer a simple gallery. It’s a dynamic, digital showroom. Today’s shoppers expect more than a few white-background shots. They want to see your product from every angle, see it in motion, and imagine it in their own lives.
Here are a few powerful ways savvy brands are pulling this off:
- 360-Degree Views: This is an easy win. It gives shoppers the power to “spin” your product and zoom in on details, silently answering a dozen questions they didn’t even know they had.
- Shoppable Videos: Think bigger than a basic demo. A great shoppable video turns passive viewing into active shopping. It can showcase your product in a lifestyle context and let customers add items to their cart right from the video player.
- Augmented Reality (AR) & Virtual Try-Ons: This is the exciting frontier. For a furniture store, it’s letting someone see how a couch actually looks in their living room. For an apparel brand, it’s showing how a jacket fits a customer’s specific body type.
These aren’t just flashy tech novelties. They are hardcore conversion tools. They tackle the single biggest point of friction in online shopping: the fear of the unknown. Eliminate that uncertainty, and you give a customer the confidence to click “buy.”
The Undeniable Power of Virtual Try-On
Let’s zoom in on virtual try-ons, because they solve a massive headache for both shoppers and merchants. For customers, it’s that nagging voice asking, “But how will it really look on me?”
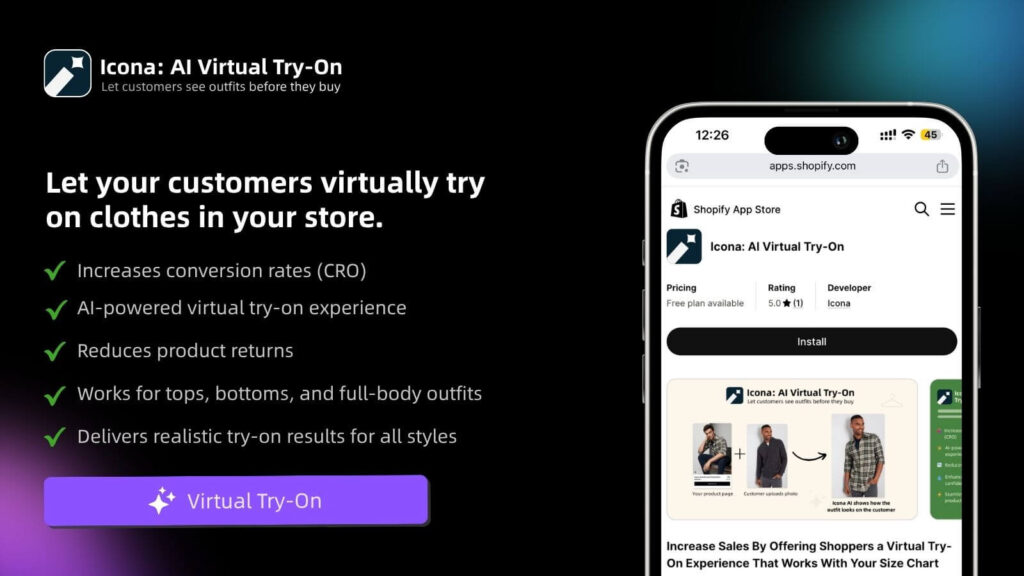
For you, it’s the all-too-real cost of returns. A tool like Icona integrates a virtual fitting room directly onto your product page. A shopper can upload a photo and instantly see how a shirt will drape on their own body. This simple interaction accomplishes three critical things:
- It skyrockets buyer confidence, leading to higher conversion rates.
- It creates a memorable, personalized experience that builds brand loyalty.
- It drastically cuts down on return rates, which is a huge win for your profit margins.
Turning Your Visuals into a Revenue Engine
This shift toward interactive visuals is more than a trend; it’s a new way of doing business. You’re not just selling a product anymore—you’re selling an experience.
We’re seeing this play out with photographers, too. Those who adopt strategic techniques are seeing incredible results. For example, offering personalized viewing appointments can boost revenue by up to 20 percent, while direct product sales linked to visual services have leaped by 33 percent. It’s proof that a high-touch, interactive approach is something people will happily pay for.
To maximize your store’s potential, look into tools that provide a seamless Shopify video shopping cart integration. The goal is to make every visual on your site work harder for you, transforming your product page into a confidence-building machine that truly sells.
Your Pro Photography Questions Answered
We’ve just walked through everything from DIY studios to the magic of AI. But I get it—taking that first step into pro-level product photography can feel a bit daunting. You’re probably juggling questions about settings, budgets, and whether you’re on the right track.
Let’s treat this like a quick coffee chat to tackle those lingering questions. My goal is to give you clear answers so you can get back to building your brand with confidence.
How Do I Optimize Images for My Shopify Store Speed?
This is one of the most critical questions you can ask. Jaw-dropping photos that make your site load at a snail’s pace are actually costing you sales. The game is finding the balance between quality and file size.
- Pick the Right Format: Use a modern, web-friendly format. JPEG is reliable, but WebP is even better, offering high quality and tiny file sizes.
- Compress Your Images: Use a compression tool to reduce file size. Aim for under 200KB for most product images without making them look pixelated.
- Let Shopify Help: Don’t forget that Shopify has some great built-in features and an app store full of tools that automate image compression.
Should I Hire a Pro or Do It Myself?
The classic tug-of-war between time and money. Honestly, there’s no single right answer—it all comes down to where your business is right now.
The DIY route has never been more powerful. For new brands, it’s a fantastic way to build a strong visual library without a huge upfront cost. Plus, it forces you to learn the fundamentals.
But a professional brings years of expertise. For growing stores, I often recommend a hybrid approach. Handle your simple product-on-white shots in-house, and bring in a pro for your hero images or a big campaign launch.
How Can AI Help if I’m Not an Editor?
This is where the game really changes, especially for founders wearing a dozen hats. Think of AI as your new creative partner—one that flattens the learning curve and gives you back your most precious resource: time.
AI isn’t here to replace your creative vision. It’s here to amplify it. It takes care of the tedious stuff so you can focus on the big picture: telling your brand’s story.
Tools like Icona Studio are designed with an intuitive interface that automates tasks that used to take years to master.
- One-Click Background Removal: Instantly pop your product out of its background without the headache.
- AI Scene Generation: Dream up realistic lifestyle scenes without scouting a location or hiring models.
- Endless Variations: Generate dozens of unique backdrops in minutes, perfect for A/B testing to find out what actually connects with your customers.
Simply put, AI tools tear down the technical barriers, letting you create professional-grade imagery without becoming a Photoshop wizard.
What Is the Single Most Important Element to Get Right?
If you walk away with only one piece of advice, let it be this: lighting is everything.
I can’t stress this enough. Great lighting is the foundation of every amazing product photo. It shapes colors, brings out textures, and sets the entire mood. You can have a $5,000 camera, but terrible lighting will make your photos look amateurish every time.
On the flip side, even if you’re shooting with your smartphone, focusing on getting soft, beautiful light will have the biggest possible impact on your results. You can fix a lot in post-production, but you can almost never salvage a poorly lit photo.
Ready to close the gap between browsing and buying? Icona gives your customers a virtual try-on experience that builds confidence and drives sales, all while creating incredible AI-generated product photos on demand.